Floral Design Tutorial: A Simple Summer Centerpiece
Hello folks! Just wanted to share a bit on how we create centerpieces using flowers cut from the garden (or flower farm).
It took a while for me to get halfway decent at designing centerpieces, assisting my husband (who is the floral designer) with weddings. I started off terrible, not even able to design the most basic of arrangements, but with time and plenty of practice I got better - and I wanted to share what I’ve learned with you!
I designed this centerpiece to be representing some of the best of the summer flowers - dahlias, zinnias, basil and other herbs, grass plumes, Queen Anne’s lace and the first of the flowering sedums and vitex seedheads that start to come into their own in the autumn.
You can of course you anything that you have available in the garden, but know of course that growing the correct high-quality flowers makes your arranging and centerpieces come together more easily.
Let’s get started, shall we?

First off, I designed it into this white porcelain footed bowl. You could use any sort of compote bowl or even a shallow bowl or dish, so long as it is longer and wider than it is tall. Just make sure that it’s heavy enough to hold everything into place.

I also decided to use a kenzan (metal pinfrog) to hold everything in place. The Japanese kenzans are my favorite since they are eternally sharp and well made and heavy, and they also come with the black rubber gasket that prevents it from moving around in the container.

This is the part that I refer to as “greening” the container. The foliage (in this case sweet pea foliage) covers the kenzan and the edges of the container to act as a canvas upon which the other flowers are placed.
Think of this like making a salad, and the greenery/foliage is the bed of lettuce or mixed greens that you put the other ingredients onto. Greenery forms the major volume of the arrangement and is accented by the flowers and other materials you put into it.

Now the kenzan and container is obscured by the foliage, although I’ve presciently left some openings for other materials and foliage and flowers to be inserted into.
I’m now ready for adding the flowers - I’ll start off with the focal flowers.

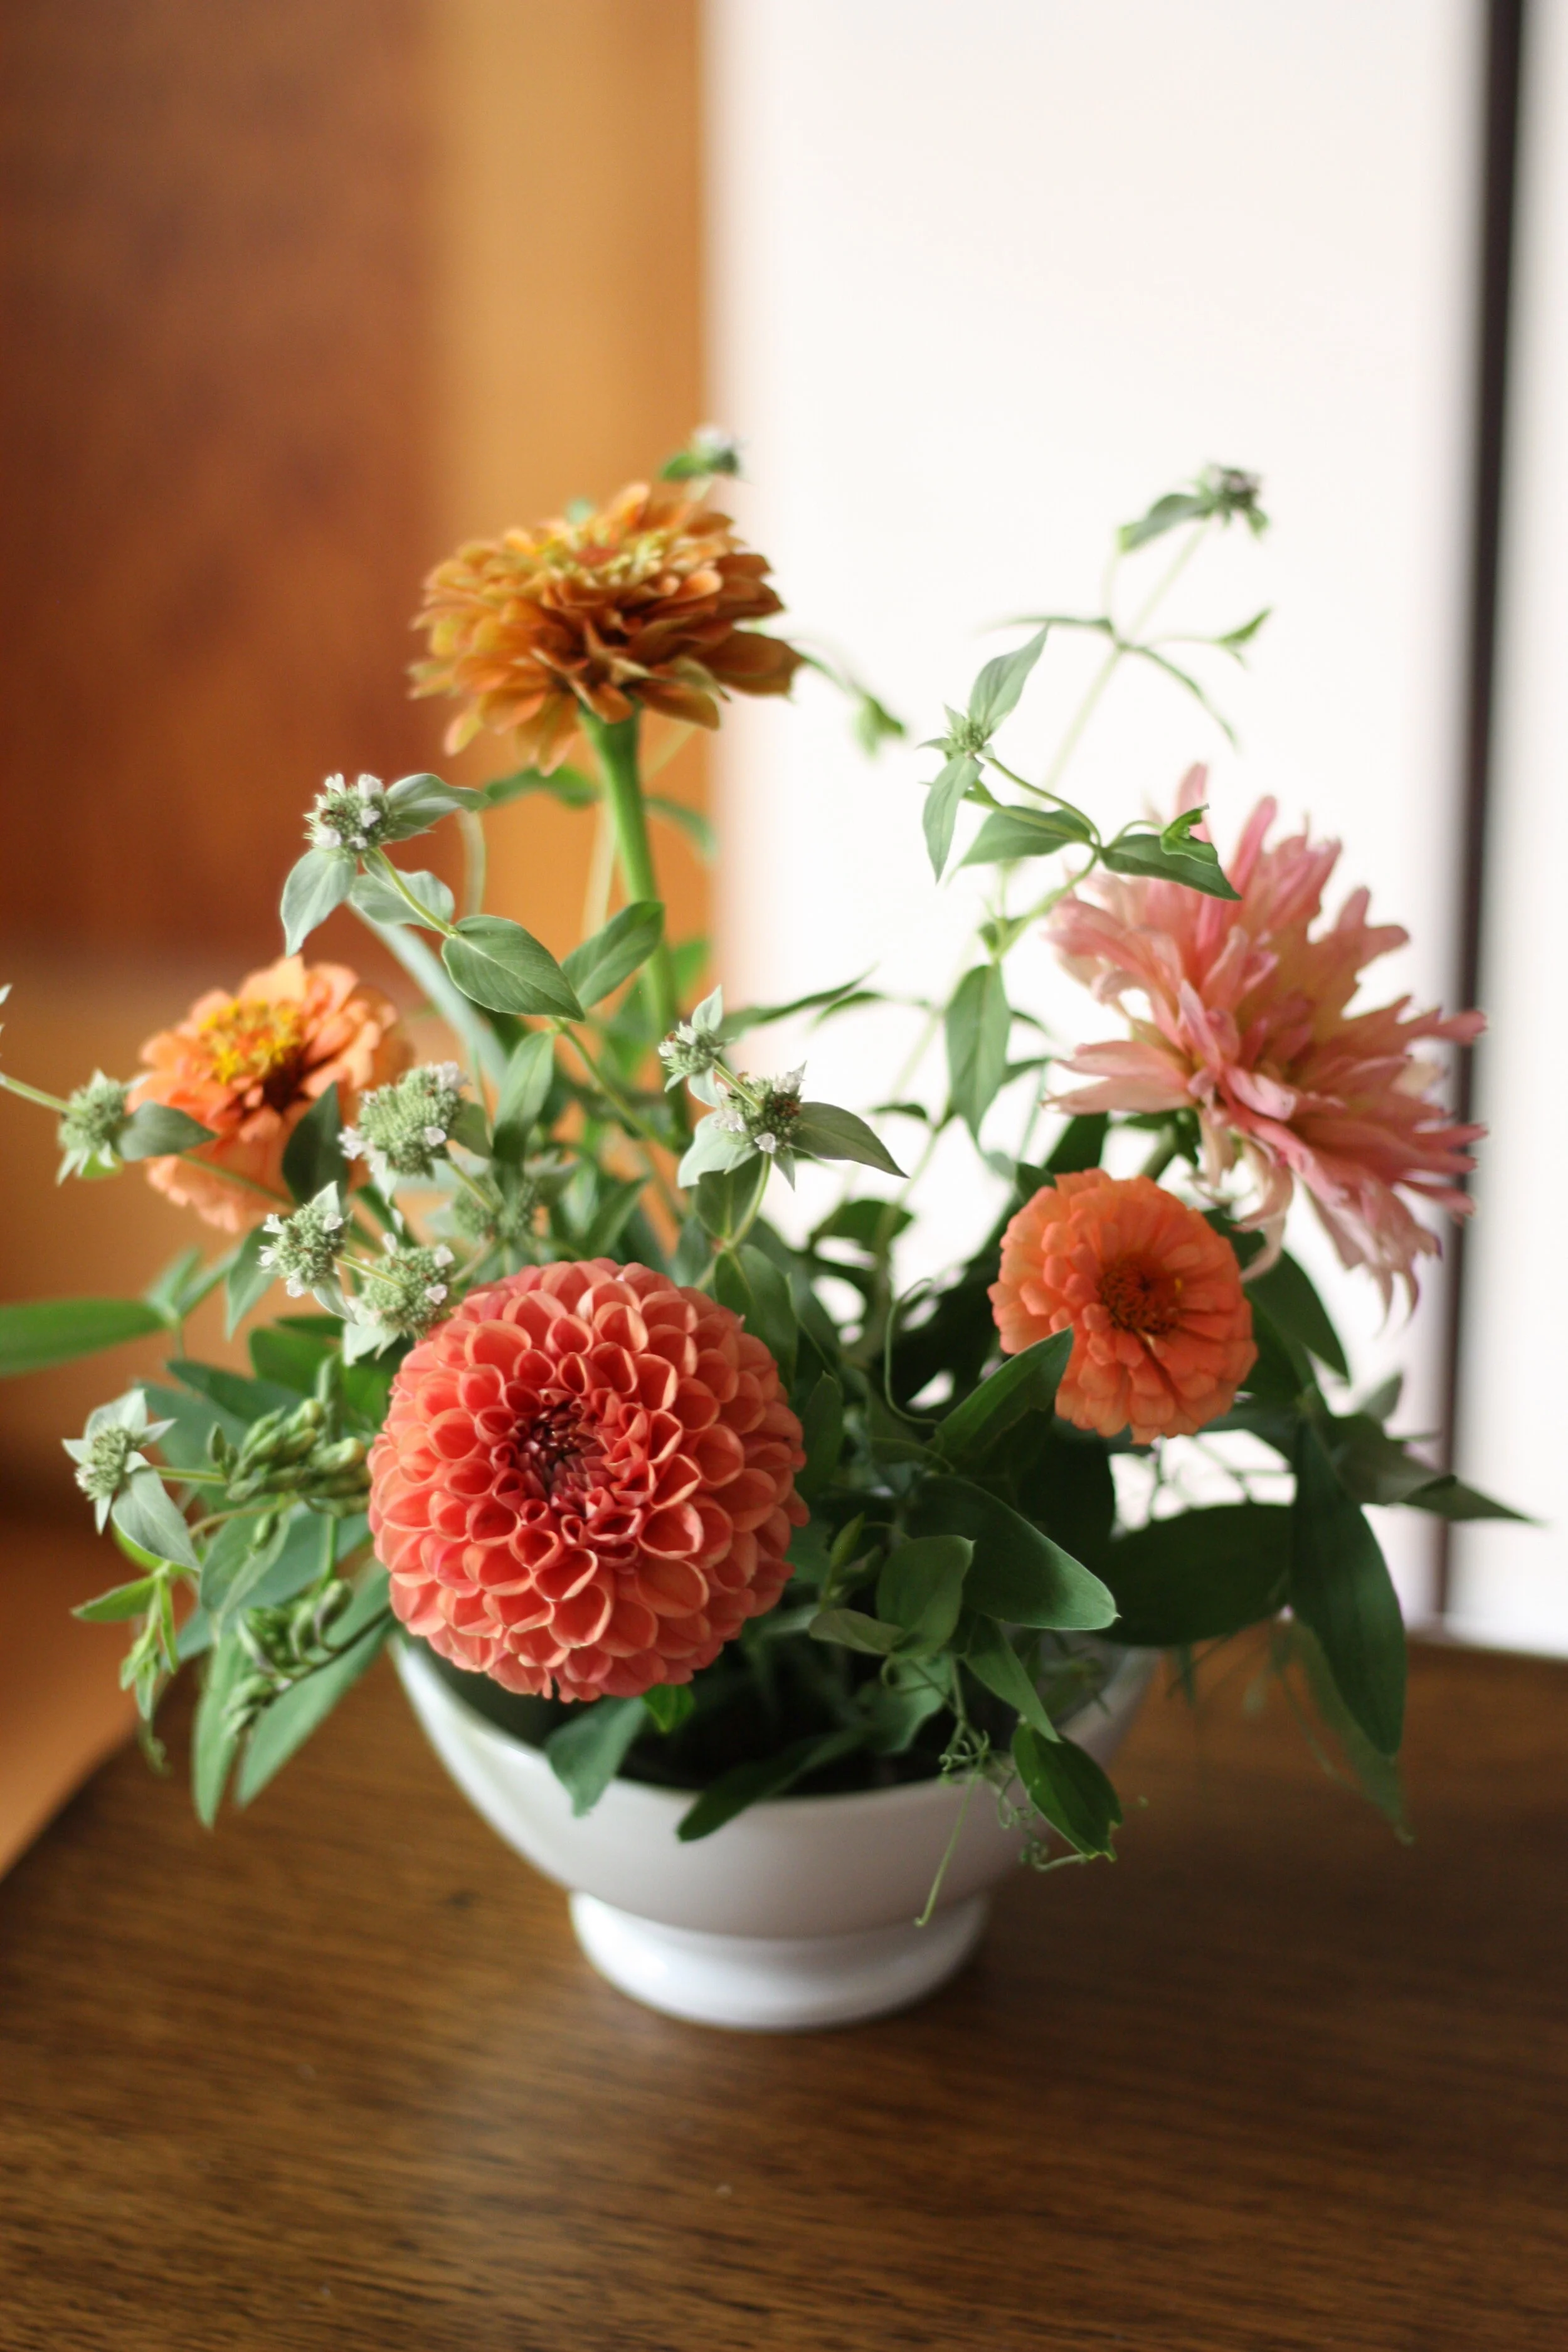
In this case I’ve chosen a ‘Cornel Bronze’ and ‘Preference’ dahlia - both of corresponding peachy/pink/salmon colors that will mix well with the other materials that I’m using in the arrangement.
I’ve placed one centrally located (to draw the eye) and one off to the side, facing away from the viewer - this will start off the direction and shape of the arrangement (in this case, a slight emphasis on the right hand side of the arrangement).

Adding in the secondary flowers - a mix of ‘Queen Lime Orange’, ‘Queen Red Lime’ and ‘Oklahoma Salmon’ zinnias that are smaller in scale but still again corresponding with the color theme.
I’ve now added in some of my new favorite perennial foliage - Mountain Mint (aka Pycnanthemum muticum). It not only has a beautiful and smooth leaf shape but also a wonderful airy habit and form and those beautiful mint-green button flowers.
I’ve kind of tucked and woven this large branched stem in and between the flowers to create some layering amongst the materials.
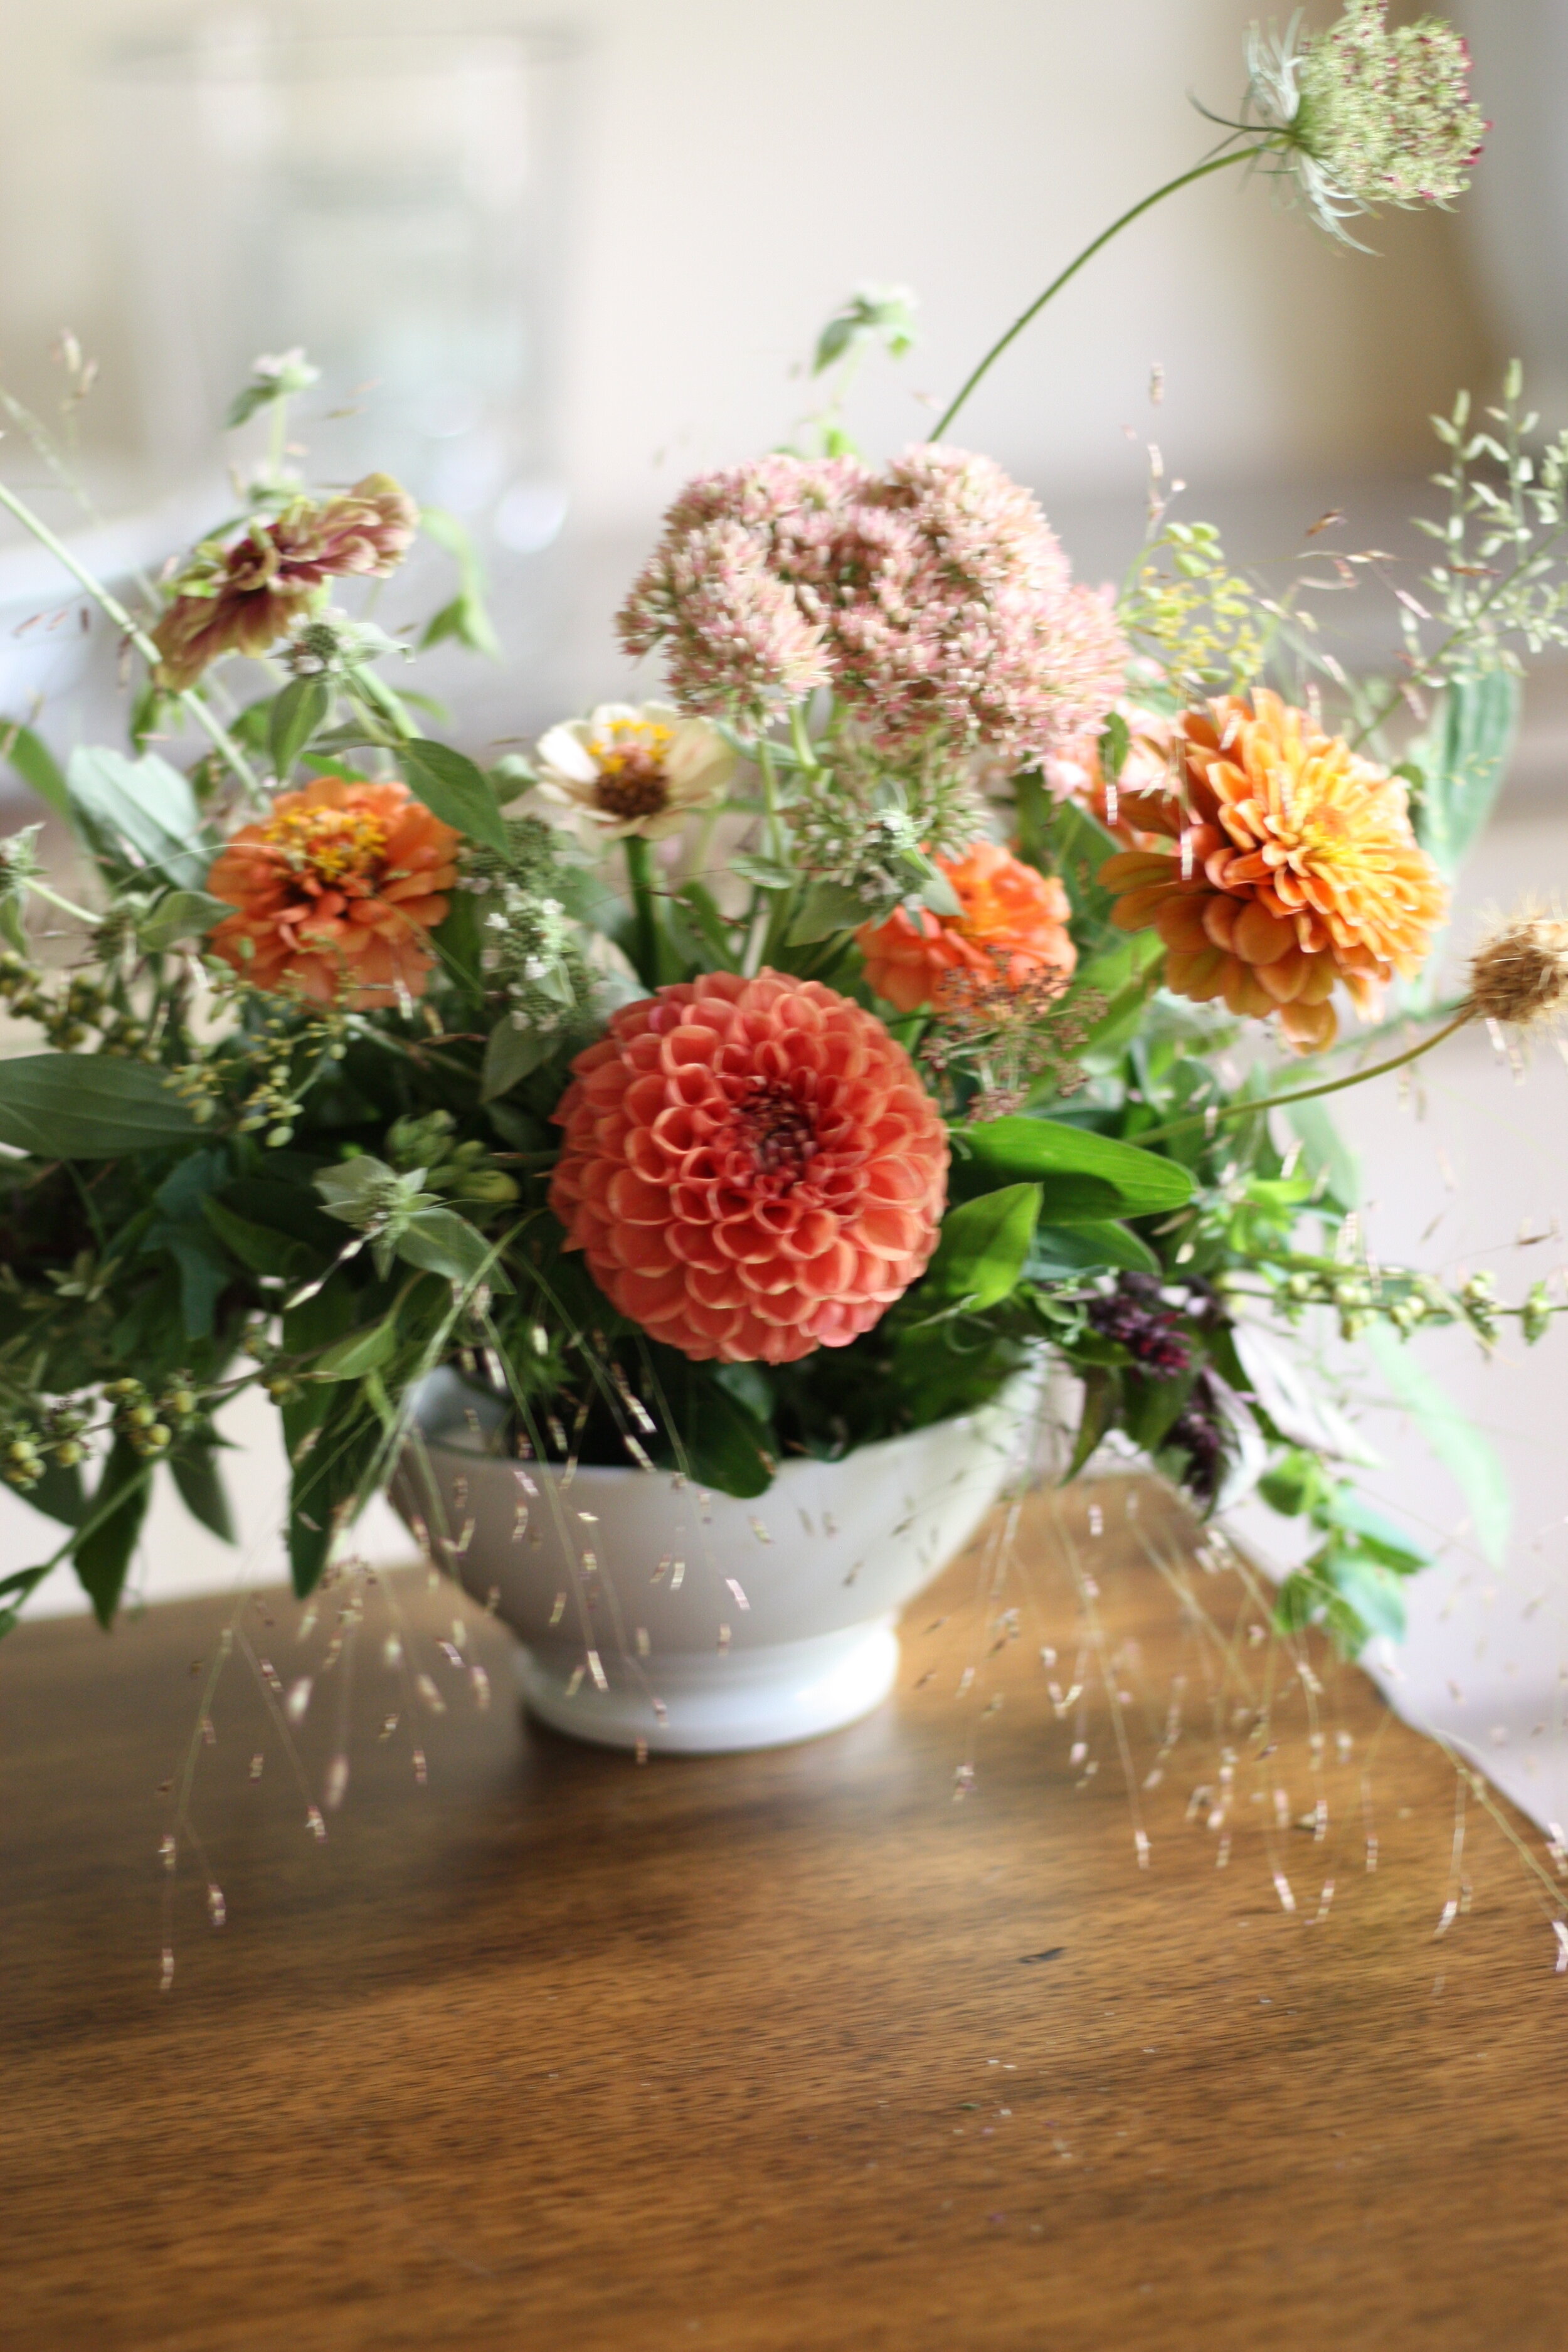
This is the general body and form of the arrangement - the arrangement is full, and now is the time to start adding in the bits of material that start making the arrangement interesting and layered!

I’ve added in what I call the “twiddly bits” - cerinthe, basil, a Zinderella lilac zinnia, seeded fennel, green-podded vitex seed heads, scabiosa seed pods and a large sedum flower head that has a wonderful light green mint and light warm blush tone that really adds a lot to the arrangement in this case.
I’m just kind of tucking them in and amongst the rest of the materials, pulling them in and out and adding them where I think they’ll look best. Feel free to move things around and trying to see what looks best - I spend quite a bit of time at this part trying to see what looks best.

And now as a final touch, I’m adding in some grass seed heads to help bulk out the arrangement, add some more direction from the lines of the grass stems, and adding in yet another layer to the arrangement to create more visual intrigue and complexity.
Also, what you can’t see is the way the grass nods and waves in even the slightest breeze or bit of movement. I try to always include grass whenever possible in arrangements for that reason!
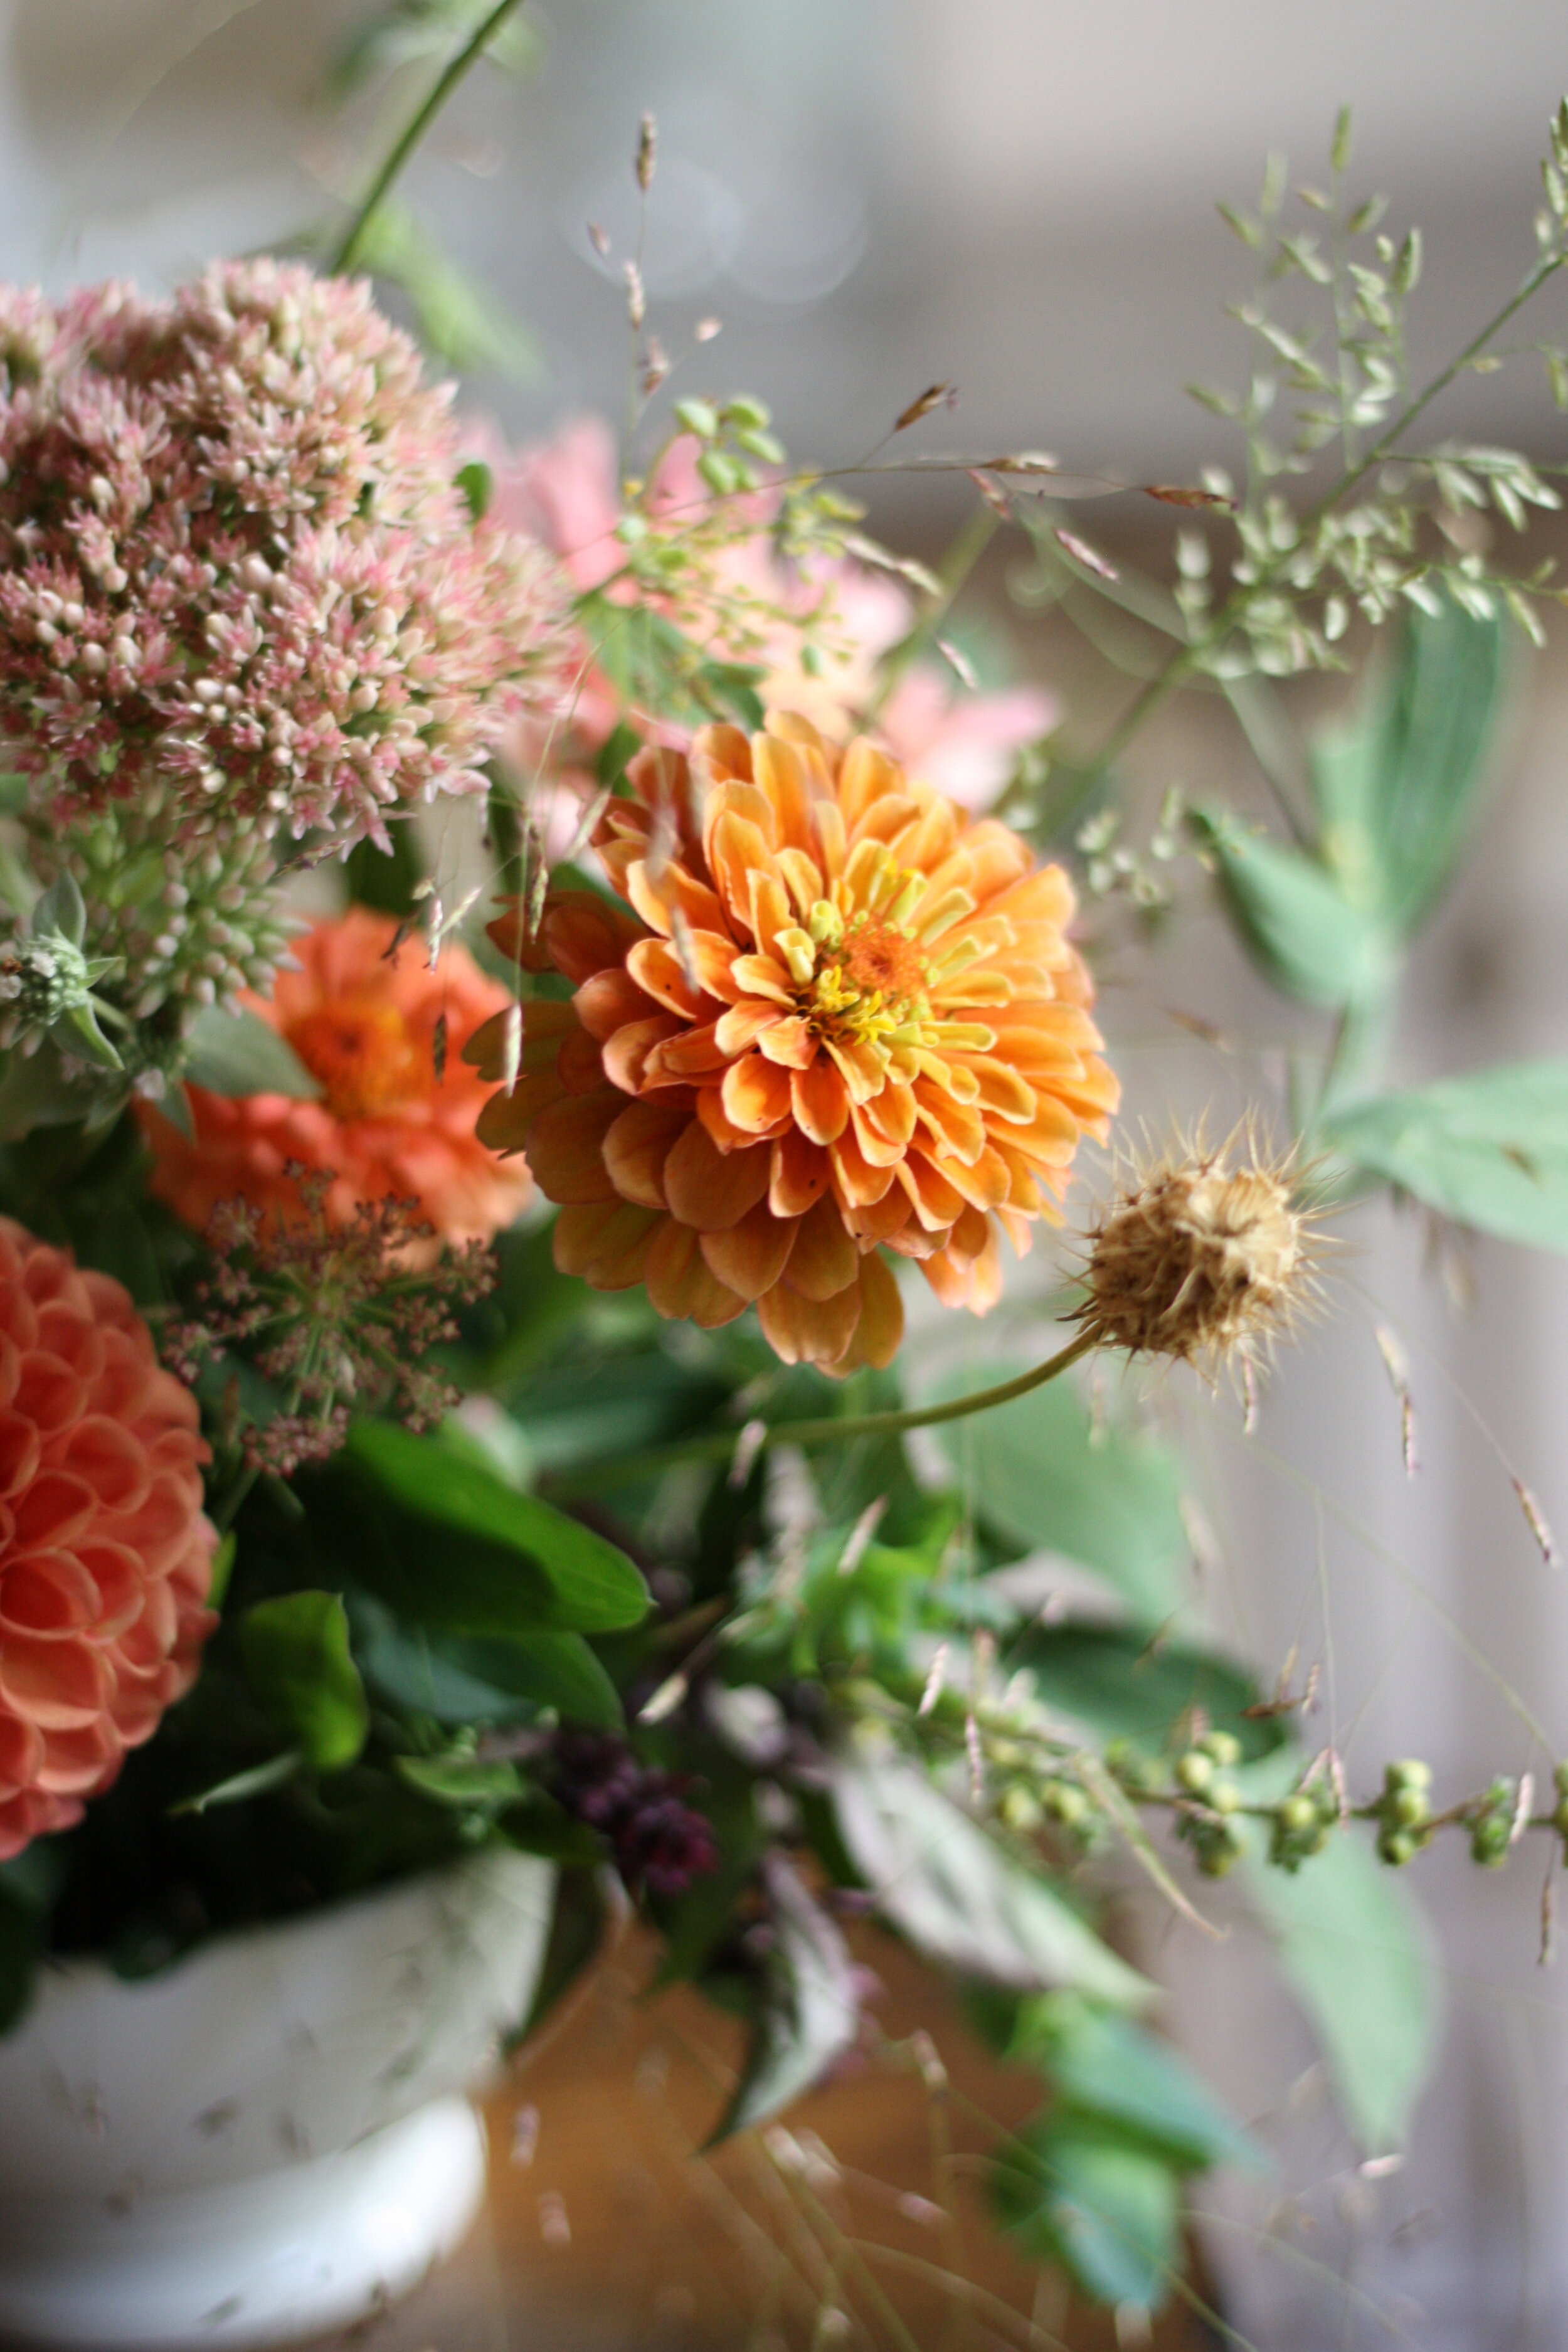
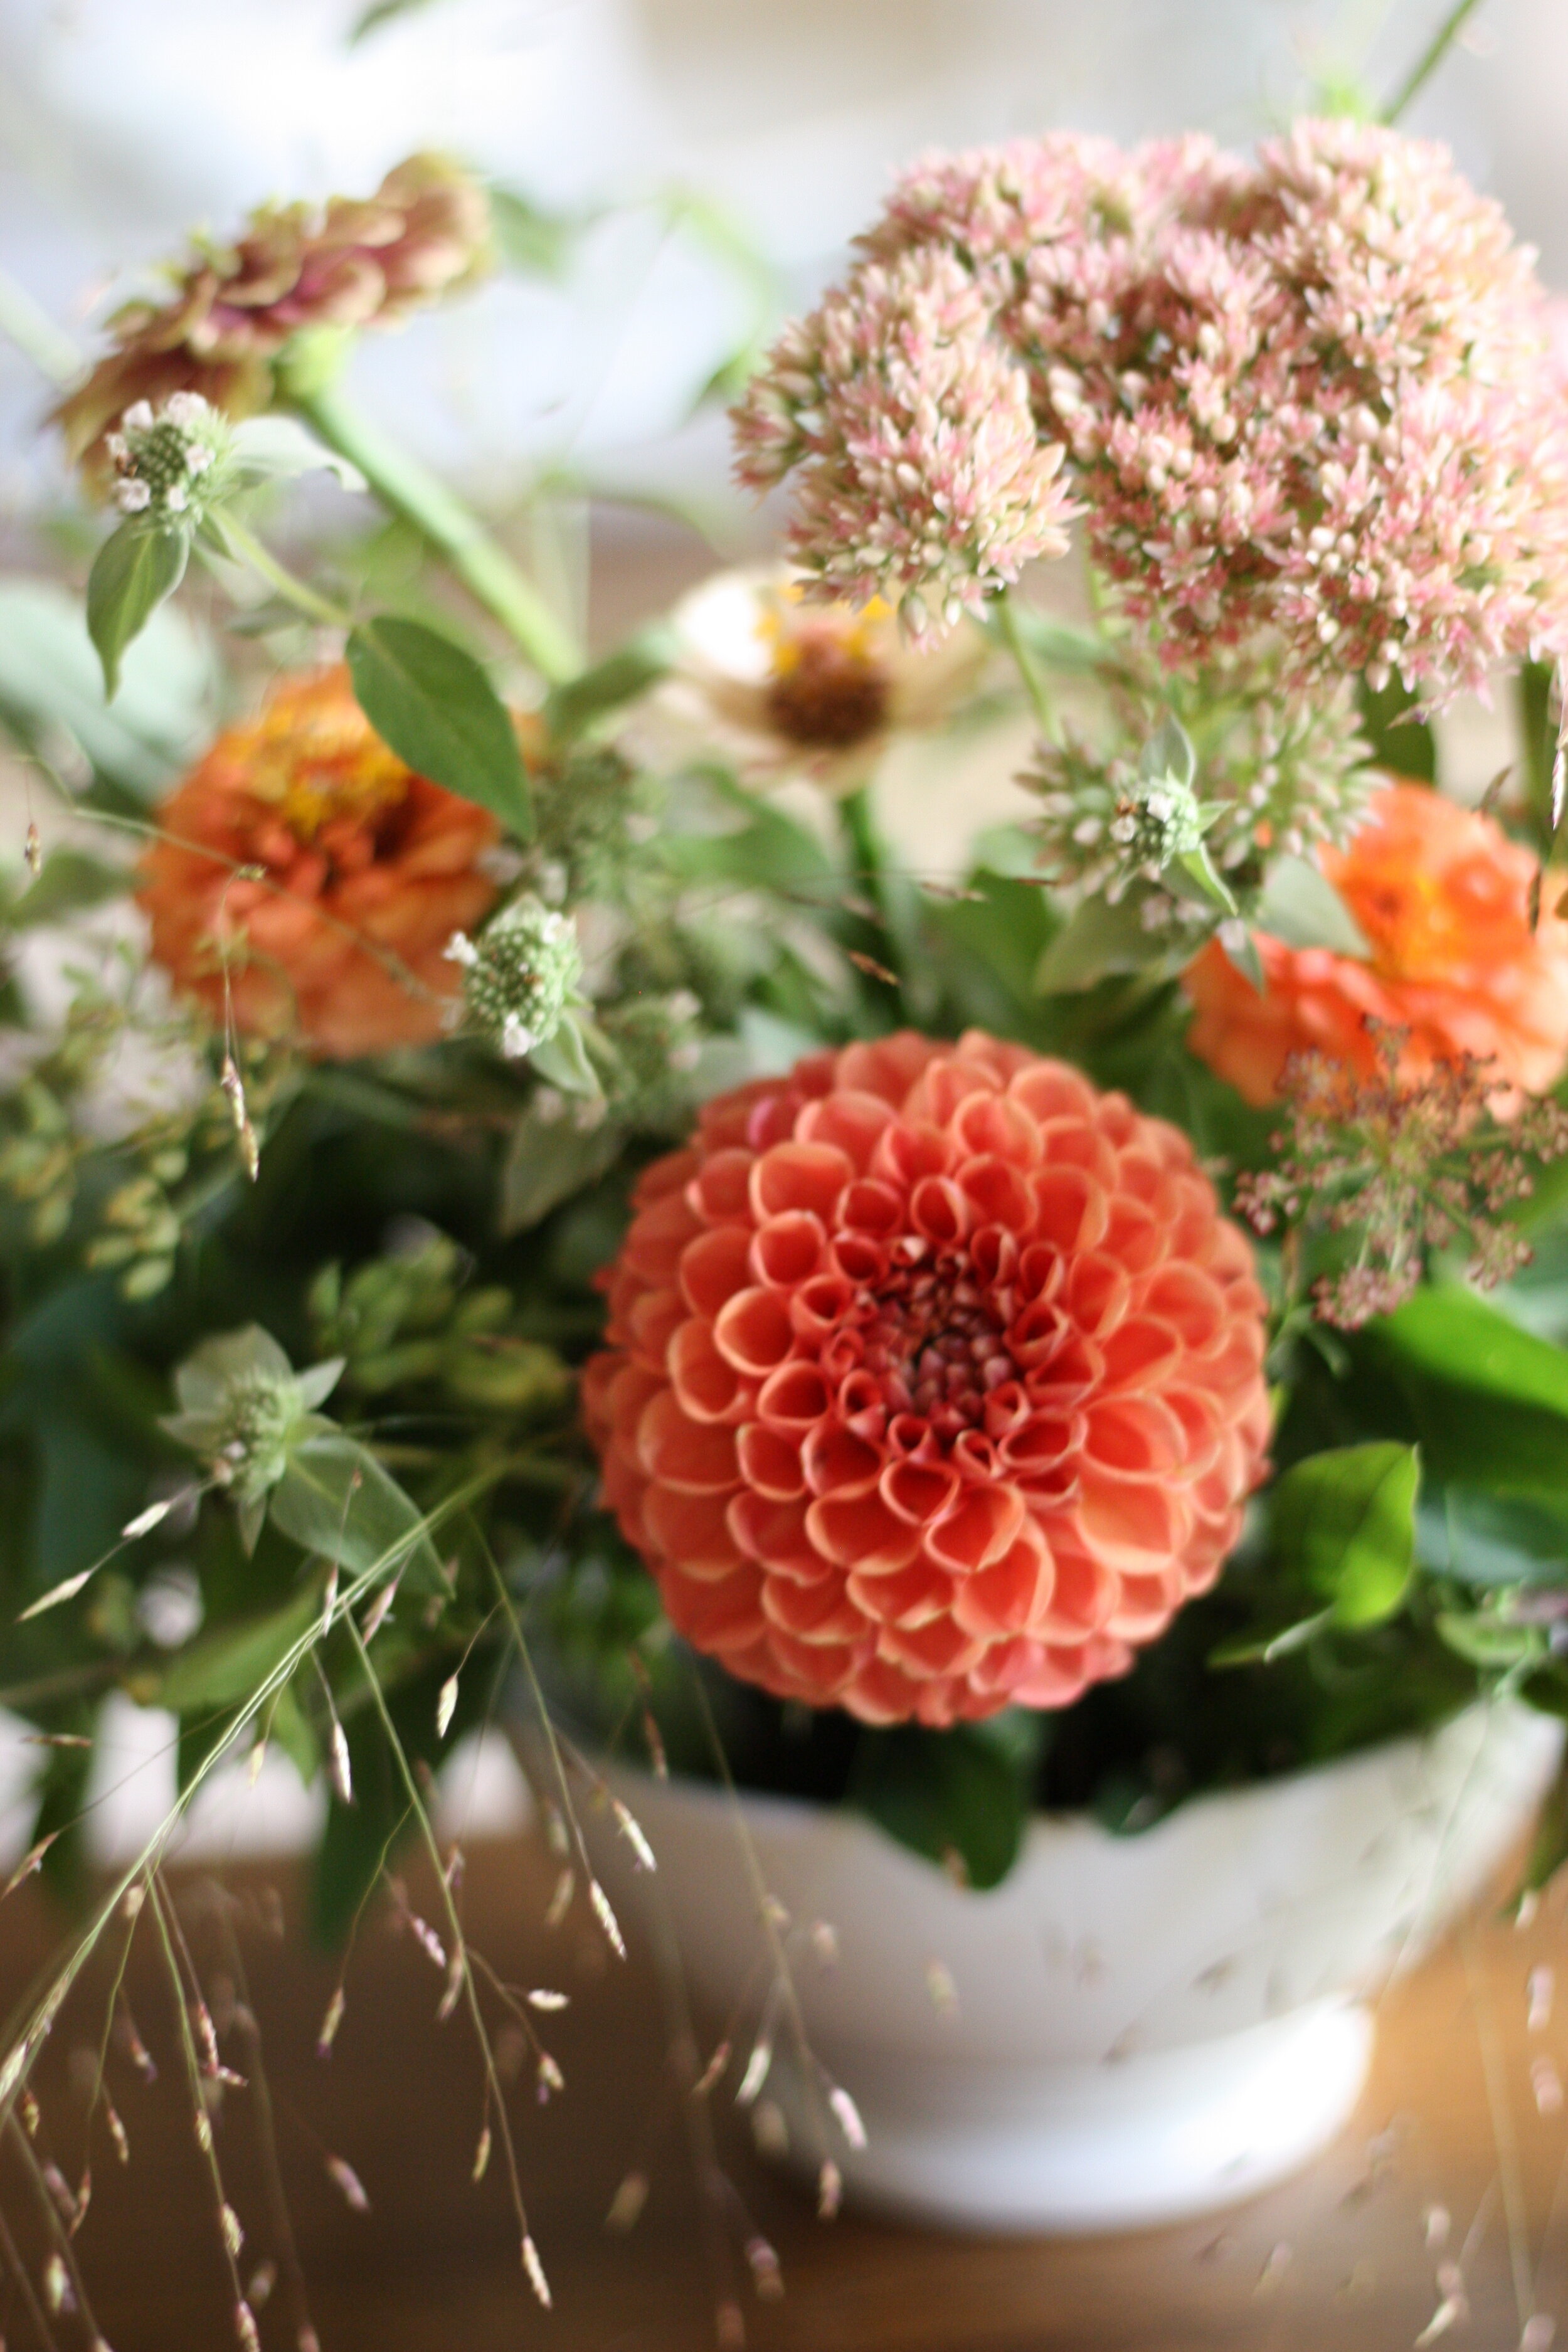

And there you have it! A lush, colorful, summer centerpiece filled with the best of the season’s flowers, foliage and seed pods. The variety of leaf shape, flower shape, texture, scale, between all the ingredients keeps your eye traveling through the arrangement and gives it an airy, yet lush appearance.
I hope this helped you to see a little bit more of how to put together a centerpiece. Again, this is not necessarily the ONLY way to put together a centerpiece, but this is a way to do so.
To summarize:
Use a kenzan (or chicken wire or floral foam) to create a structure to hold your materials in place
Cover your container with foliage (“green” it)
Place your focal flowers
Place your secondary flowers
Start adding in more foliage and filler to create a certain “fullness” in the arrangement
Add in other interesting elements - different foliage, smaller flowers, seed pods and vines to create layers and textures
Rearrange, add and subtract as needed until you’re satisfied.